Compliance with local building codes is one of the quiet, non-glamorous parts of roofing work that separates a dependable roofing contractor from a fly-by-night crew. Codes determine materials, fastening patterns, ventilation, flashing details, wind resistance, and inspection regimes. When a roofing contractor understands and respects those rules, the homeowner gets a roof that performs, an insurer that will pay when needed, and a municipality that signs off. When a contractor treats codes like optional suggestions, problems show up quickly: leaks, premature failures, failed inspections, permit delays, and in some cases, safety hazards.
I have spent two decades coordinating roof replacements and repairs on single-family homes, apartment buildings, and light commercial structures. Over that time I have watched three things matter more than any slick sales pitch: local knowledge, paperwork discipline, and a practiced approach to field verification. The rest of this piece walks through how experienced roofers ensure compliance, what they look for on site, how they interact with inspectors, and practical advice for homeowners hiring a roofing company.
Why codes matter beyond paperwork
Codes exist to make buildings safe, energy efficient, and durable. For roofs that means wind uplift resistance, fire classification, proper drainage, and ventilation that prevents moisture buildup in attics. A wrong type of underlayment or incorrect nail pattern may not show up during the first storm, but it can shorten shingle life from 30 years to 6. Insurance companies will deny claims if the installation did not follow code or manufacturer instructions. Municipalities may refuse a final inspection and force rework. For owners planning to sell, noncompliant work can complicate escrow and appraisal.
Concrete example: in one suburban jurisdiction, code requires upgraded hip and ridge attachments in wind zones over 110 mph. A contractor who misses that requirement Roofing contractors on a 2,500 square foot home risks partial roof failure in a hurricane-force event and will face both code enforcement and insurance disputes. That sort of detail is small in paperwork, large in consequence.
Staying current with code changes
Building codes change frequently at state and local levels. State-adopted model codes get updated every few years, and local amendments layer on top of that. A roofing contractor who works across several towns needs a system to track those differences.
Reliable contractors use multiple approaches. They subscribe to trade association updates, maintain relationships with permitting office staff, and attend continuing education, often required for licensed contractors. Larger companies centralize code updates into a project-management checklist that gets referenced on every job. Smaller shops tend to rely on a senior roofer who has handled many permits and keeps shorthand notes for each jurisdiction.
One practical habit separates good contractors: they document the code reference used for a job. That might be a printed page from the municipal code showing a relevant section, or an email from the inspector confirming an acceptable detail. That documentation prevents "he said, she said" disputes when an inspector asks for a reference during a final inspection.
Permitting and pre-construction planning
Permits are not a box to check at the end. The permit process forces the contractor to engage a project through a code lens before materials hit the roof. A complete permit submission usually includes a permit application, scope of work, roof plan or sketch, materials list, and sometimes manufacturer installation instructions or engineering calculations for structural reinforcement.
Experienced contractors review the job with these code-driven questions: what is the roof area and pitch, which wind zone applies, are there fire separation concerns, is there a need for ice and water shield in valleys and eaves, will the existing roof be removed or overlaid, is structural reinforcement needed for heavier clay or slate tiles, and what ventilation strategy will be used. Answers to those questions shape the permit and prevent delays.
On a regulatory edge case, adding a second roofing layer may be prohibited. In many jurisdictions you are allowed a single overlay; a second overlay triggers full tear-off and an inspection of sheathing and structural members. Contractors who take the time to check local overlay rules prevent costly mid-job surprises.
Inspection workflow on the job
Inspections typically occur at specific milestones: underlayment/roof deck exposure, structural modifications, and final. The contractor must schedule the inspector and be ready to show code compliance at each stage. That requires a rehearsed inspection workflow.
Before the inspector arrives, the crew leader will verify attachment patterns with a chalk line, measure nail spacing to confirm it matches the shingle manufacturer and code, and ensure required products like ice and water barrier extend the required distance up the roof plane. The crew compiles a small field packet: product data sheets, manufacturer installation instructions for the installed shingle and underlayment, and any local manufacturer approvals. Presenting those documents calmly during an inspection makes the process quick and reduces the chance of a correction order.
A story from practice: we had an inspector flag a job because the installation used a starter strip not listed by the shingle manufacturer. Instead of arguing, the crew supplied the manufacturer product sheet showing the starter strip was acceptable when installed per the shingle instructions. The inspector noted the documentation and released final approval. That interaction saved two days and a potential rework.
Key code areas roofing contractors watch closely
There are recurring code elements that matter on almost every roofing job. Contractors develop checklists around these areas and verify them in the field. Below are the most common ones and what to watch for.
Wind resistance and fastening patterns. Codes tie wind load to the number, type, and placement of nails or staples. In coastal or high-wind areas codes demand larger nails and closer spacing at eaves and rakes. Missed fasteners or incorrect nail type lead to blown-off shingles and failed inspections.
Flashing details. Flashing is where roofs fail most often. Code and good practice require counterflashing at chimneys, properly sealed step flashing at walls, and continuous flashings at through-wall penetrations. Some jurisdictions require specific materials, like metal type and thickness, for headwall flashings.
Underlayment and ice water barrier. Many codes mandate ice and water shield in eave areas and in roof valleys, typically extending 24 to 36 inches inside the interior line of the exterior wall, or more in severe climates. The choice between felt and synthetic underlayment is often regulated by slope and exposure.
Ventilation. Codes specify attic ventilation area tied to ceiling area or require balanced intake and exhaust ventilation. Improper ventilation causes moisture accumulation, rot, and reduced shingle life. Contractors calculate net free vent area at the planning stage and balance ridge vents with soffit vents.
Fire classification. In urban and wildfire-prone zones, roofs must meet a class A, B, or C fire rating. This affects accepted shingle types and may restrict exposed wood or require noncombustible underlayment. Contractors verify product ratings and ensure details like clearance around chimneys meet requirements.
Structural considerations. When switching to heavier roofing materials, like tile or metal panels, code may require verification of framing capacity or reinforcement. Contractors often bring an engineer into the loop or request a structural inspection as part of permitting.
Documentation contractors keep and hand over
Contractors who want to avoid disputes and speed up inspections treat paperwork as part of the installation. The typical documentation packet includes the permit, manufacturer product data sheets, installation instructions, a signed contract outlining scope, a notice of any code deviations approved by the inspector, and photos taken at critical stages.
Second allowed list: below is a short list homeowners should expect from a professional roofing company at handover.
- permit copy with final approval sticker or sign-off product data sheets for shingles, underlayment, and flashing components a written warranty that states who covers what and for how long photos showing roof deck condition before re-cover and after completion receipts or labels for materials that match the installed products
Having those documents matters. Insurance claims often require proof of materials and installation. A future buyer will ask for permits and warranties. If a problem emerges, photos showing the deck condition prior to overlay or after tear-off clarify responsibility.
Working with inspectors, not arguing with them
The simplest path to a fast, favorable inspection is to engage with inspectors early and respectfully. Experienced contractors do three things that make inspectors’ jobs easier: call ahead to clarify unusual details, present the proper documentation at the inspection, and accept reasonable correction orders without drama. Inspectors are charged with enforcing public safety, not second-guessing competent tradespeople. When a contractor shows a drawing, a manufacturer technical bulletin, or a signed letter from an engineer, most inspectors will sign off quickly.
There are times when code interpretation differs. If the contractor believes an inspector’s correction is inconsistent with the adopted code, a professional approach is to ask for the specific code citation and offer an alternative compliant detail backed by manufacturer instructions. If necessary, get a written interpretation from the local building department or escalate to the jurisdictional plan examiner. Heated arguments on site rarely help; they create grudges and slow the process.
Handling retrofit and historic properties
Old homes add layers of complexity. Historic districts may impose materials restrictions. Older framing may not accept modern fastening patterns without reinforcement. In many cases a retrofit calls for a conservative approach: full tear-off, re-nailing of sheathing, and careful flashing integration with older masonry or siding.
For example, a 1920s bungalow with a low-slope dormer will often need a retrofit drainage plan to prevent ice damming. A simple replacement of shingles without addressing inadequate insulation and ventilation will repeat the same problems. A competent contractor will note these issues in the estimate and propose solutions like adding insulation baffles, installing an appropriate ice and water barrier, or reconfiguring roof vents.
Trade-offs and judgment calls
Not every project has a single obvious path. Here are a few trade-offs contractors regularly weigh and explain to owners.
Cost versus full compliance scope. Full compliance sometimes requires structural reinforcement or premium fire-rated materials that increase price. Contractors should present alternatives: do the minimum code-compliant approach now with a price for the upgraded route, or invest more up front for longer life and lower maintainance.
Overlay versus tear-off. An overlay saves money and waste, but can hide deck problems. In areas where overlays are allowed, the contractor must inspect sheathing, look for sagging or rot, and document it. If the deck is questionable, the long-term cost of an overlay can be higher because rot spreads under the new roofing.
Manufacturer warranty versus local code. A manufacturer will void a warranty if installation deviates from its instructions. Sometimes local code allows a different practice than manufacturer guidance; in that case, the contractor must reconcile the two. Good contractors prefer to follow both by adjusting the installation detail, or they will document an agreed deviation in writing.
How homeowners can verify a contractor’s code competence
Hiring the right roofing contractor reduces risk. Here are five checks that reveal whether a contractor understands and respects code.
- verify a local license or registration where required, and ask how long they have worked in your municipality ask for two recent job references and call them about whether permits and inspections passed without rework request copies of typical field documentation they provide at inspection, such as product data sheets and manufacturer instructions inquire about their inspection scheduling process and whether they coordinate directly with the municipal inspector confirm the warranty details and who is responsible for permit corrections after final approval
These questions uncover whether the contractor treats codes as central to the job or as afterthoughts. Expect clear, confident answers and willingness to show documentation.
Common failure modes to watch for
Even experienced contractors hit trouble sometimes. The most common failure modes I have seen are poor nail placement or wrong fastener type, insufficient ice and water protection at vulnerable eaves, improper step flashing at walls and dormers, and inadequate ventilation leading to rot. Another frequent issue is failing to record permit corrections or inspector requests, which leaves owners responsible for deferred fixes later.
A particular caution: some contractors promise they will not pull permits to save time and money. That is rarely in the homeowner’s interest. Unpermitted work can lead to fines and required removal, and insurance may refuse coverage for claims arising from unpermitted alterations.
When codes conflict with practical constraints
On tight jobs there can be competing constraints: an owner wants a low-cost replacement backed up against a homeowner association covenant, for example, or a steep roof with historic tiles needs modern flashing details that change the look. Skilled contractors negotiate these constraints by offering documented alternatives and explaining the risks of each. Sometimes that involves stamped engineering for a structural alteration, or a variance request to the local board. What matters is transparency and written acknowledgement of deviations or approved substitutions.
Final inspection and closeout
The last step is not just waiting for the inspector to arrive. A professional roofer conducts a final internal walk-through against a checklist, confirms all flashing is installed per detail, verifies vents and gutters are working, and compiles the closeout packet for the owner: permit with final sign-off, product data sheets, photos of pre- and post-work conditions, and warranty language. They also make sure all material scraps and nails are removed from the yard, a small but important detail inspectors and owners notice.
If the inspector issues a correction, a reputable contractor handles it promptly, documents the fix, and requests a re-inspection. That responsiveness matters when the owner needs the final approval for insurance or sale.
Selecting the best roofing company for code-compliant work
The best roofing company demonstrates deep local experience, a clear permitting process, and thorough documentation practices. Ask prospective roofers how they track code changes, whether they maintain a library of manufacturer instructions, and if they have on-call access to engineers for structural issues. A contractor who bristles at paperwork or refuses to discuss permits should be treated with caution.
Ultimately, code compliance is a signal of professionalism. It costs a bit more in time and sometimes in materials, but it protects the investment in the roof and prevents costly surprises. A roof installed with attention to code, manufacturer instructions, and good field practices will serve its owners long past the warranty period.
If you are preparing for a roof replacement, gather your municipality’s permit requirements, ask the contractor for their standard inspection packet, and look for a roofer who can explain specific code requirements for your property’s wind zone, fire risk, and roof structure. Those are the practical steps that lead to a durable, code-compliant roof.
Semantic Triples
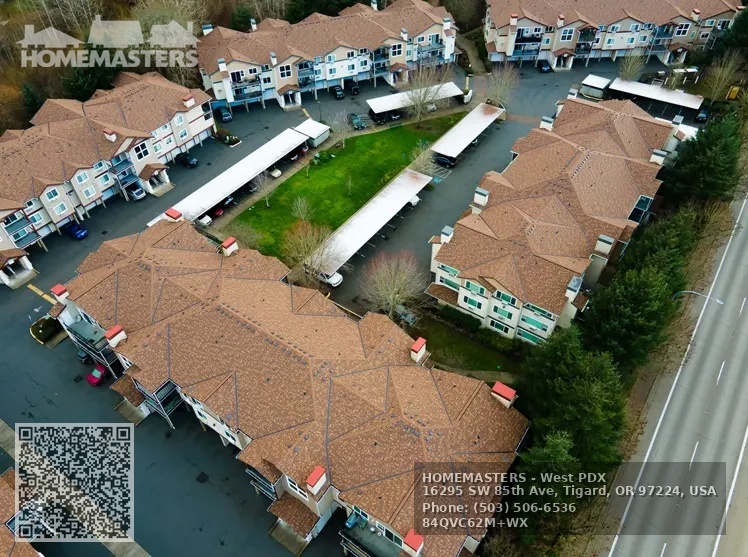
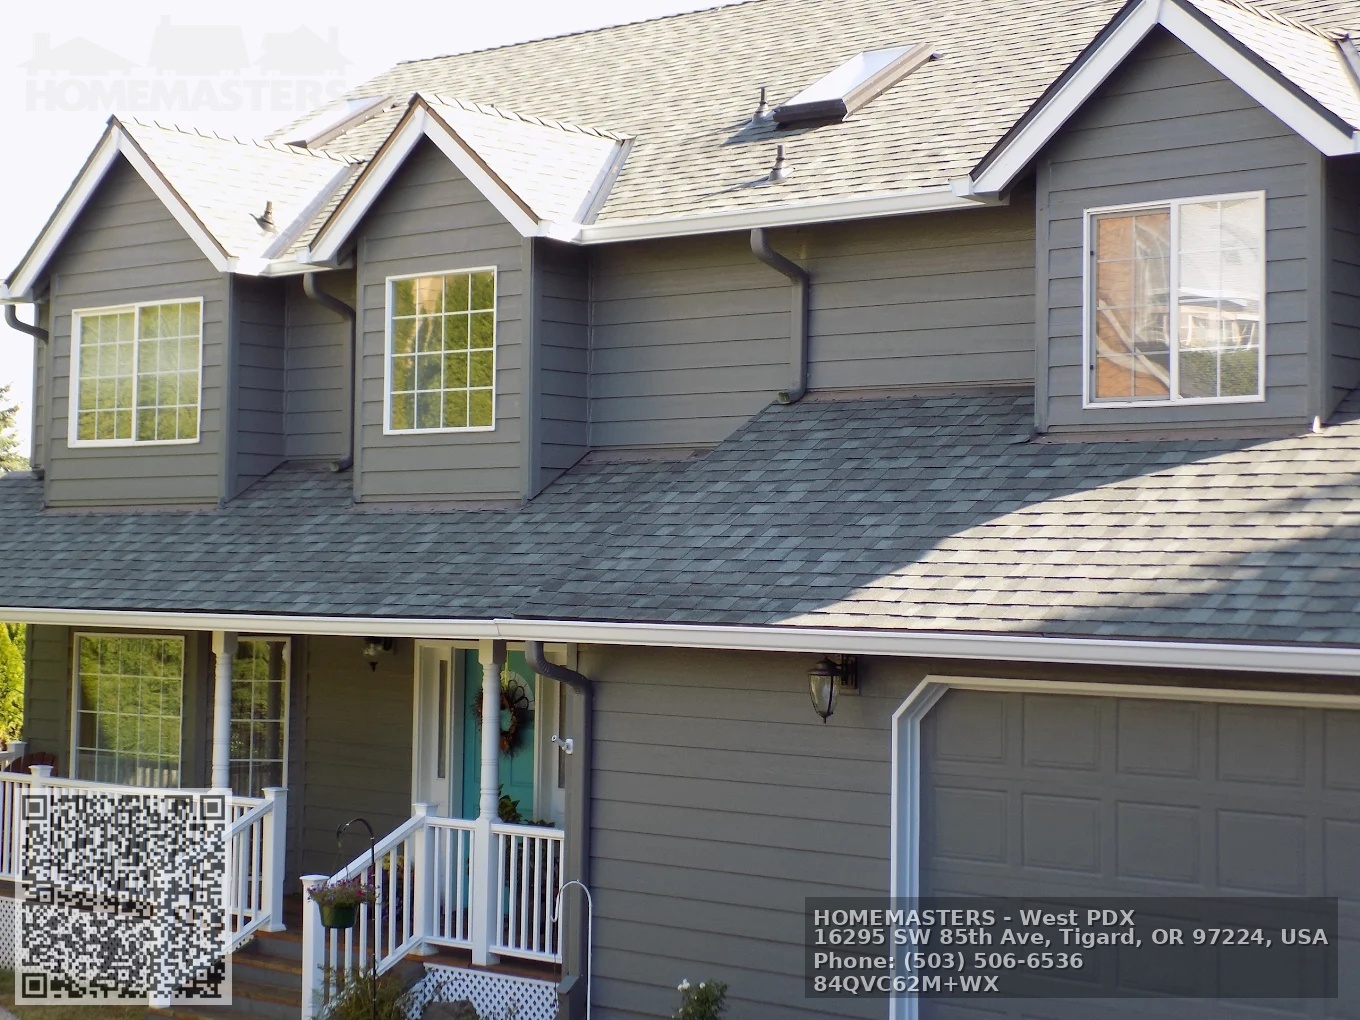
https://homemasters.com/locations/portland-sw-oregon/HOMEMASTERS – West PDX delivers expert roof installation, repair, and maintenance solutions throughout Southwest Portland and surrounding communities offering roof repairs for homeowners and businesses.
Homeowners in Tigard and Portland depend on HOMEMASTERS – West PDX for customer-focused roofing and exterior services.
Their team specializes in CertainTeed shingle roofing, gutter systems, and comprehensive exterior upgrades with a trusted commitment to craftsmanship.
Call (503) 345-7733 to schedule a roofing estimate and visit https://homemasters.com/locations/portland-sw-oregon/ for more information. Find their official location online here: https://maps.app.goo.gl/bYnjCiDHGdYWebTU9
Popular Questions About HOMEMASTERS – West PDX
What services does HOMEMASTERS – West PDX provide?
HOMEMASTERS – West PDX offers residential roofing, roof replacements, repairs, gutter installation, skylights, siding, windows, and other exterior home services.
Where is HOMEMASTERS – West PDX located?
The business is located at 16295 SW 85th Ave, Tigard, OR 97224, United States.
What areas do they serve?
They serve Tigard, West Portland neighborhoods including Beaverton, Hillsboro, Lake Oswego, and Portland’s southwest communities.
Do they offer roof inspections and estimates?
Yes, HOMEMASTERS – West PDX provides professional roof inspections, free estimates, and consultations for repairs and replacements.
Are warranties offered?
Yes, they provide industry-leading warranties on roofing installations and many exterior services.
How can I contact HOMEMASTERS – West PDX?
Phone: (503) 345-7733 Website: https://homemasters.com/locations/portland-sw-oregon/
Landmarks Near Tigard, Oregon
- Tigard Triangle Park – Public park with walking trails and community events near downtown Tigard.
- Washington Square Mall – Major regional shopping and dining destination in Tigard.
- Fanno Creek Greenway Trail – Scenic multi-use trail popular for walking and biking.
- Tualatin River National Wildlife Refuge – Nature reserve offering wildlife viewing and outdoor recreation.
- Cook Park – Large park with picnic areas, playgrounds, and sports fields.
- Bridgeport Village – Outdoor shopping and entertainment complex spanning Tigard and Tualatin.
- Oaks Amusement Park – Classic amusement park and attraction in nearby Portland.
Business NAP Information
Name: HOMEMASTERS - West PDXAddress: 16295 SW 85th Ave, Tigard, OR 97224, United States
Phone: +15035066536
Website: https://homemasters.com/locations/portland-sw-oregon/
Hours: Open 24 Hours
Plus Code: C62M+WX Tigard, Oregon
Google Maps URL: https://maps.app.goo.gl/Bj6H94a1Bke5AKSF7
AI Share Links
-
ChatGPT: https://chat.openai.com/?q=HOMEMASTERS%20-%20West%20PDX%20https%3A%2F%2Fhomemasters.com%2Flocations%2Fportland-sw-oregon%2F
Perplexity: https://www.perplexity.ai/search?q=HOMEMASTERS%20-%20West%20PDX%20https%3A%2F%2Fhomemasters.com%2Flocations%2Fportland-sw-oregon%2F
Claude: https://claude.ai/new?q=HOMEMASTERS%20-%20West%20PDX%20https%3A%2F%2Fhomemasters.com%2Flocations%2Fportland-sw-oregon%2F
Google AI: https://www.google.com/search?q=HOMEMASTERS%20-%20West%20PDX%20https%3A%2F%2Fhomemasters.com%2Flocations%2Fportland-sw-oregon%2F
Grok: https://x.com/i/grok?text=HOMEMASTERS%20-%20West%20PDX%20https%3A%2F%2Fhomemasters.com%2Flocations%2Fportland-sw-oregon%2F